If you lurve this polish or any of the other Digital Nails polishes I've shared on this blog, be sure to check out the Digital Nails Etsy shop, and follow them on Facebook for more news!
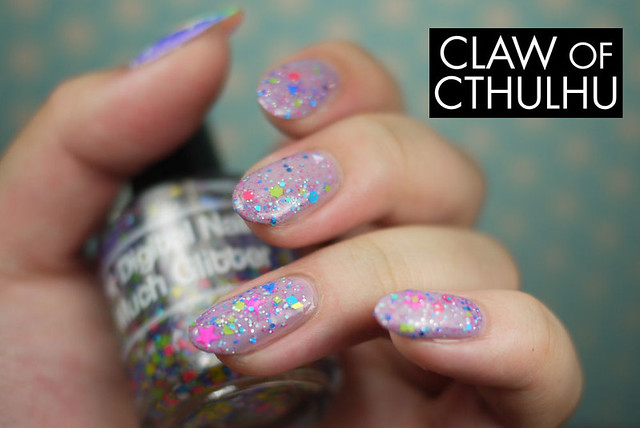
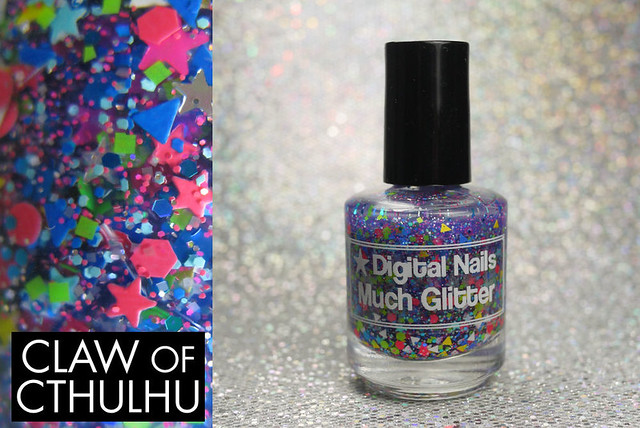
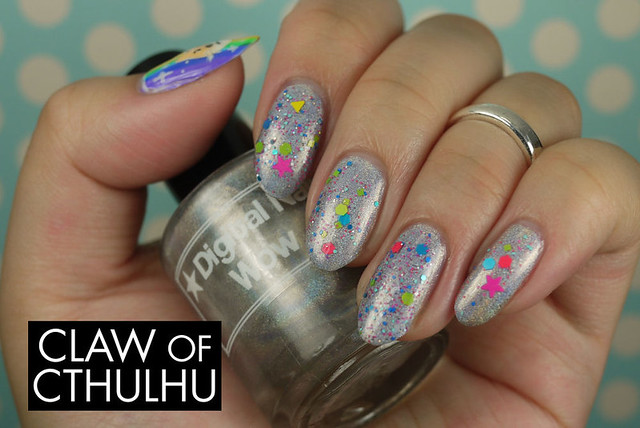
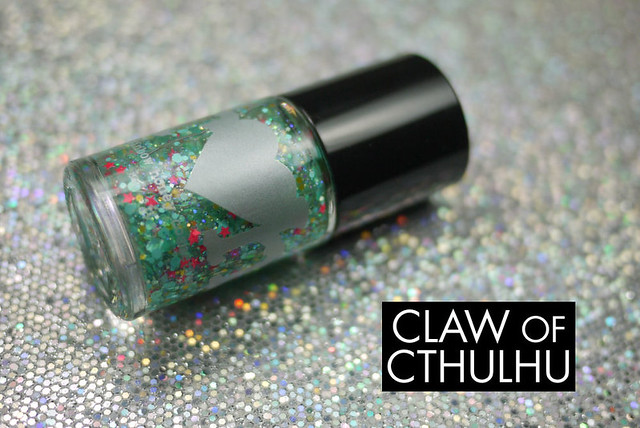
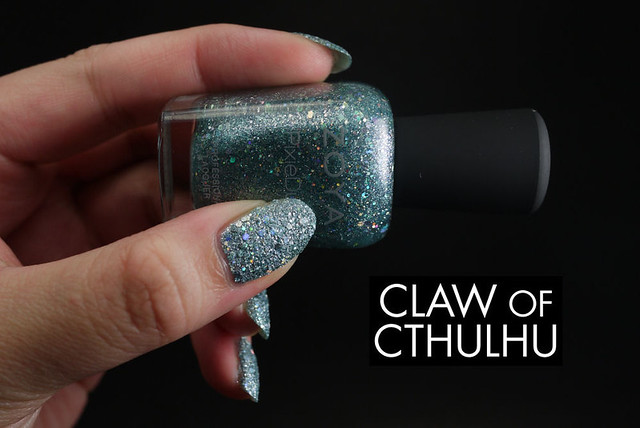
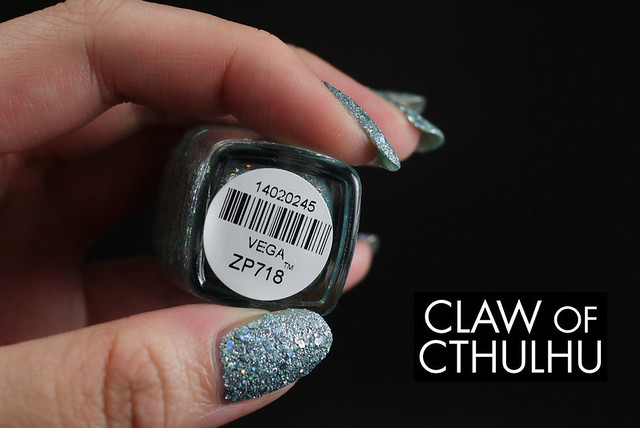
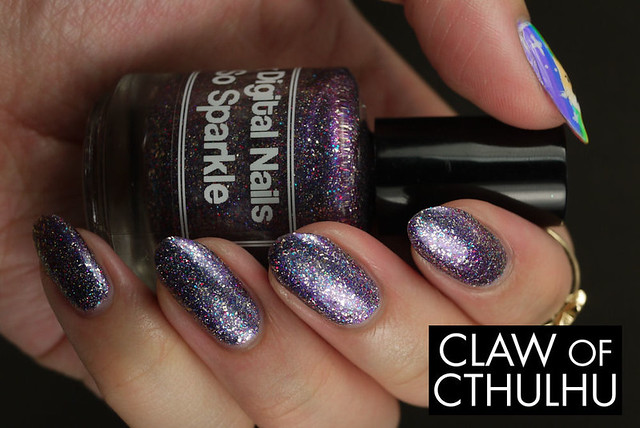
As you can see... So Sparkle. Yes. Shifty goodness bundled up and spoiled with glitter and flakes galore. Friggin' GALORE. Here's a bottle shot and a macro so you can get a better idea:
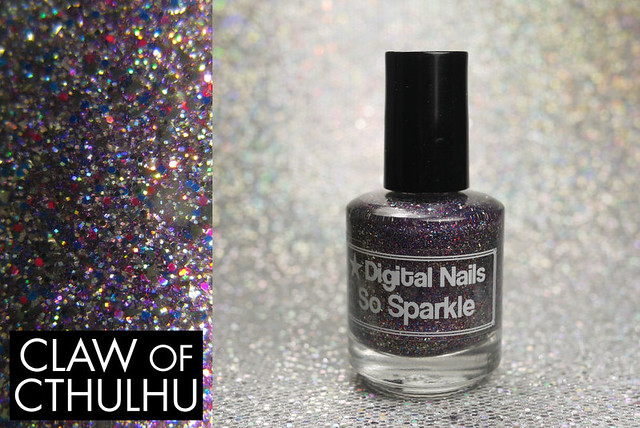
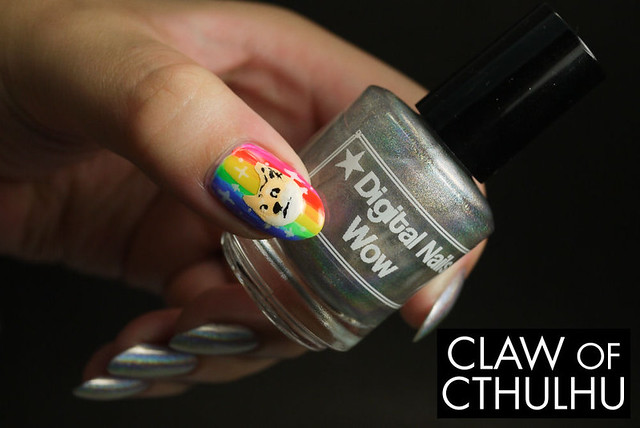
Yeah buddy. Here's the description from Digital Nails: Much Glitter! Many flake! So shine. Wow.
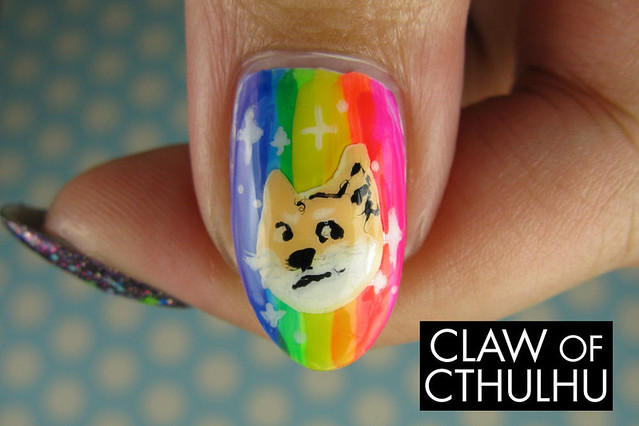
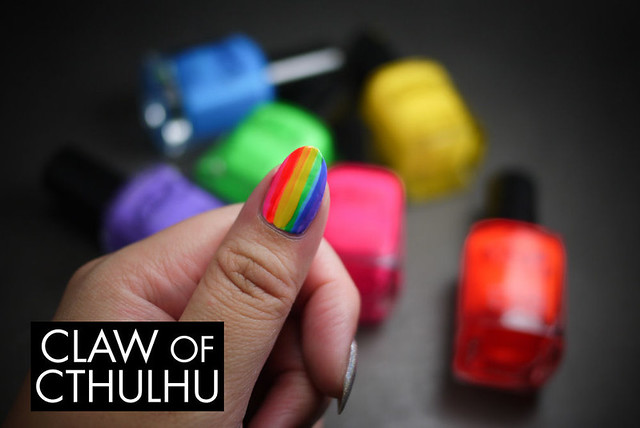
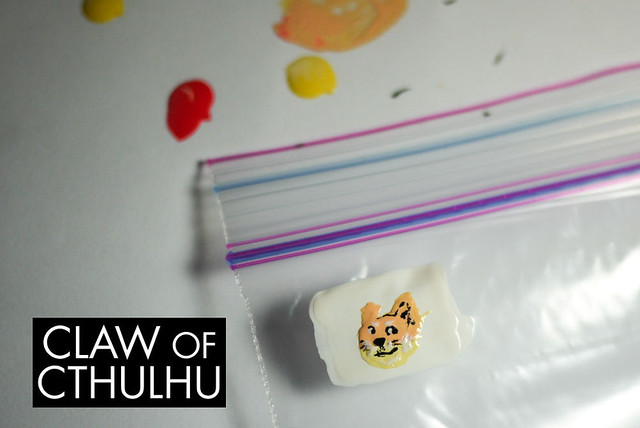
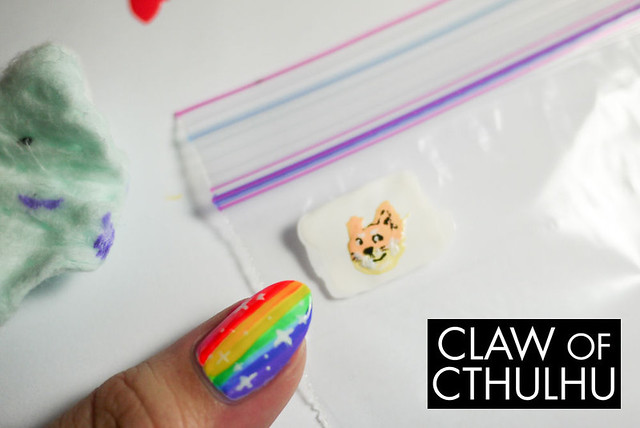
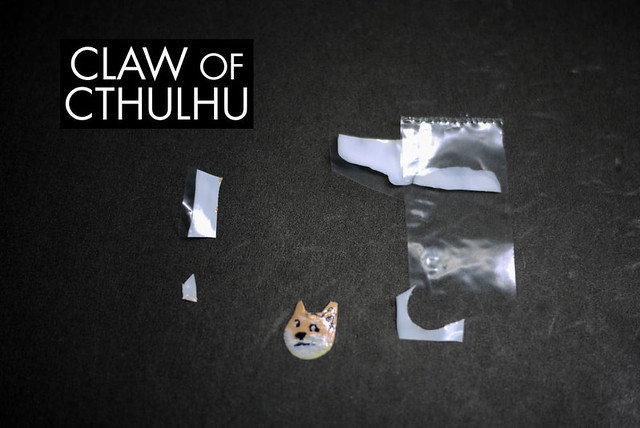
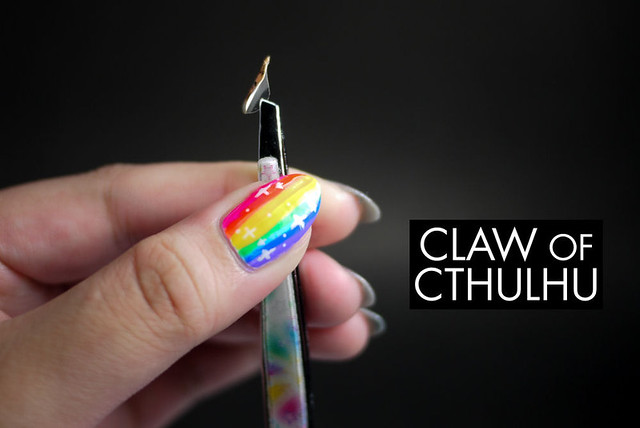
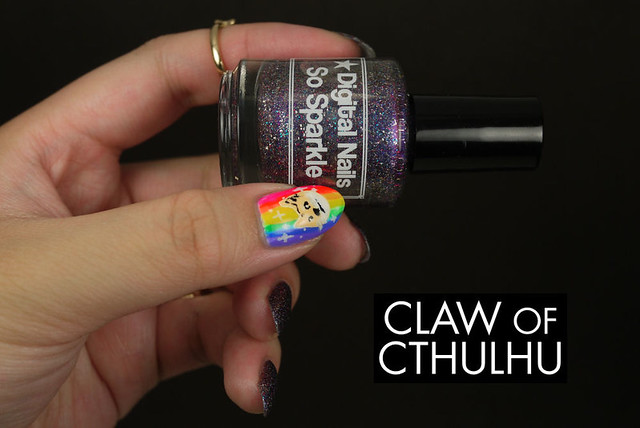
Back in January, someone linked that 2048 game on Facebook and many of us were instantly hooked! Well, what is better than regular 2048? DOGE 2048! I can't tell you how many hours I spent matching little Doge tiles in hopes of getting the final yellow starburst Doge... I digress. This polish was inspired by the rainbow tile doge, and every doge meme that is out there, warning us in its brightly colored comic sans font that we have seen something awesome, or awful. Doge has no boundaries, only bad grammar. We love you, Doge!
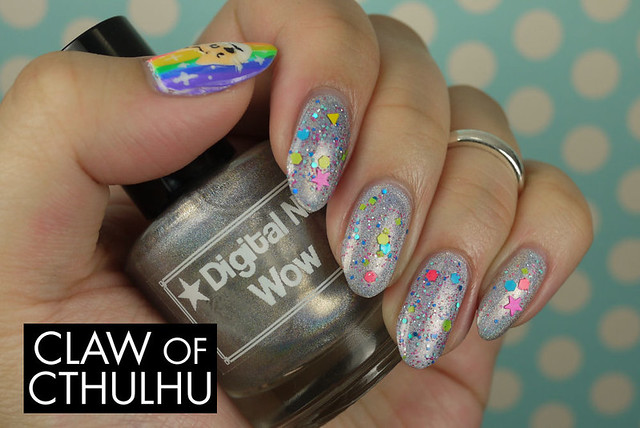
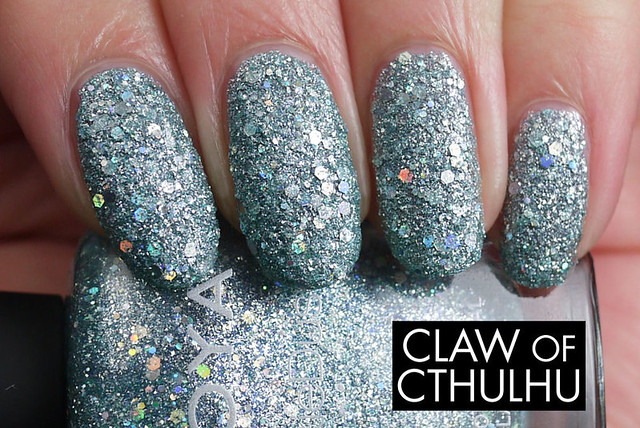
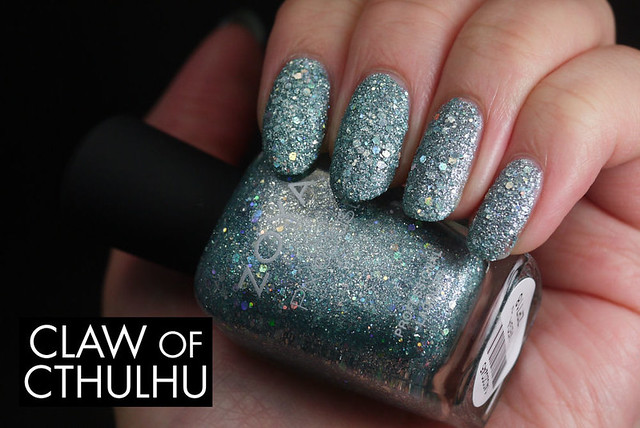
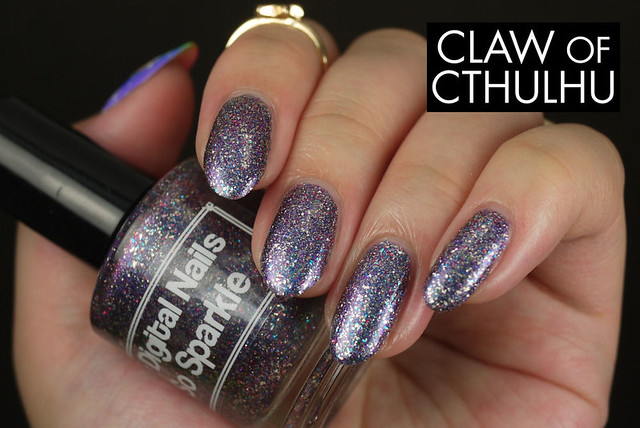
So Sparkle is a hodgepodge of everything I love about indie polish. It has Multichrome pigment, actual silver coated flakies, holographic glitter, color shifting glitter, and other shinies that will make you temporarily blind, should you stare at it too long. Be careful while you're driving, y'all. This polish looks completely different in all different lighting - it changes from charcoal, to purple, to steel blue, even bordering on a silvery aqua sometimes! The teeeeny holo glitters are the little sisters to our polish Supernova, so you KNOW how those react to sun. Bring on the sunglasses!
It will come shipped gift ready, in a white box with colorful packing material. This and all of my other polishes are 5 Free, which means I never use toluene, formaldehyde resin, formaldehyde, camphor or Dibutyl Phthalate. It is also vegan and cruelty free.
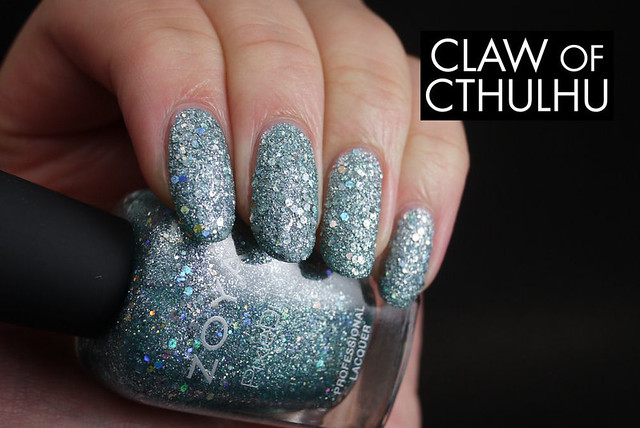
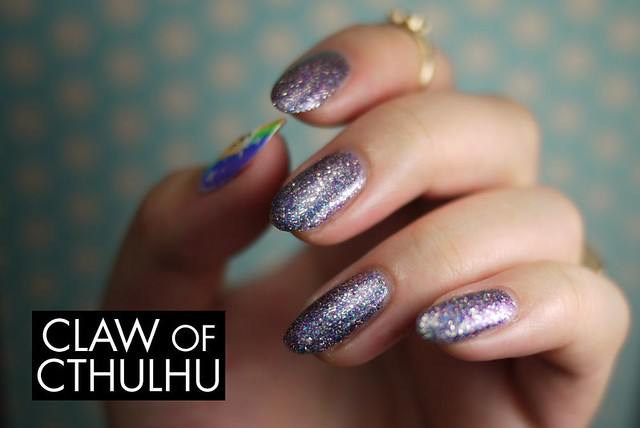
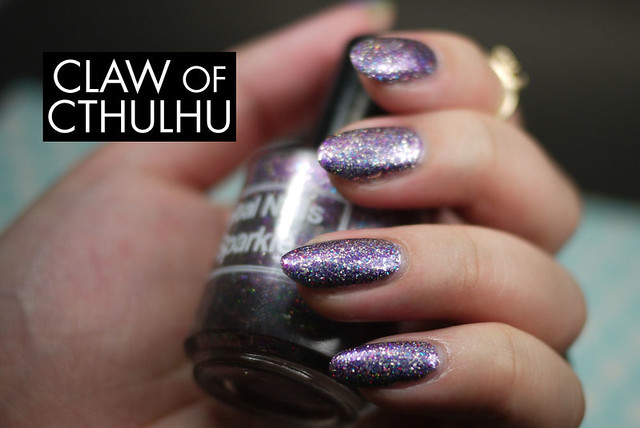
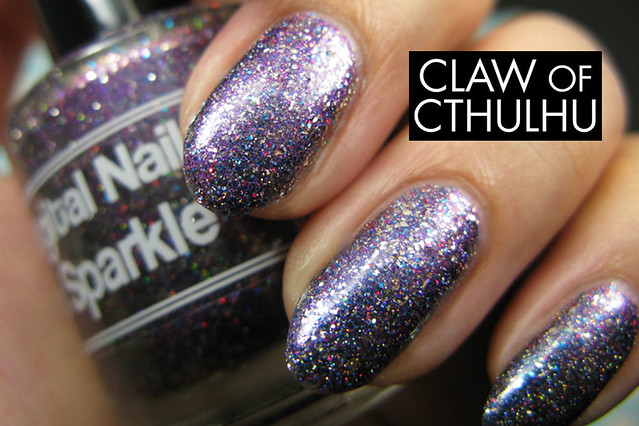
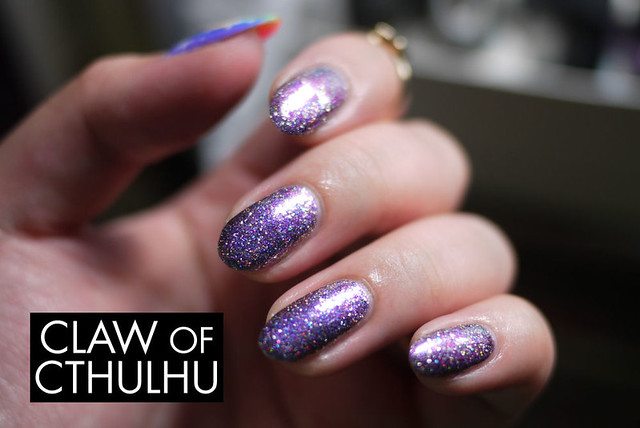
Holy. Fleckin'. Hell. I must confess... I didn't know what I was getting into when I applied this polish. I was a little uncertain just staring at it in a bottle... But on the nail. On the nail is a completely other story - the duo-multi-polychrome effect is explosive. Noticeable immediately. The flakes and glitters are far more highlighted on the nail. I painted my nails and was wow'd in my room which is gross and has artificial lighting... Then I went to drive to work on a sunny day and BOOM. Another completely different look.
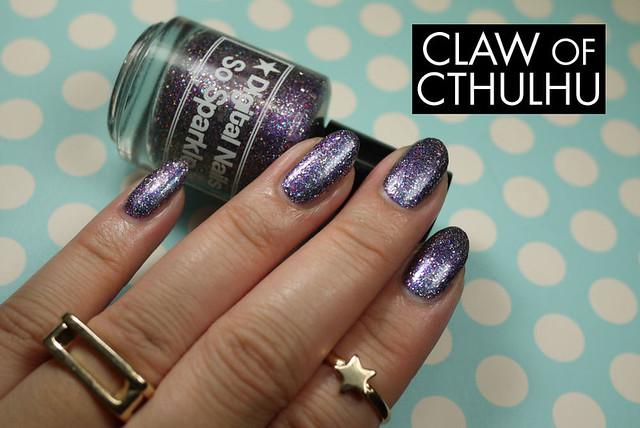
I know it's almost cliche to say this but... Photos do not do justice. I tried, oh baby, I tried! Application wise - this one is great. Definitely a two coater as the first only lays out a bit of a foundation. Two coats for the magic to take effect here. I added a coat of Seche Vite:

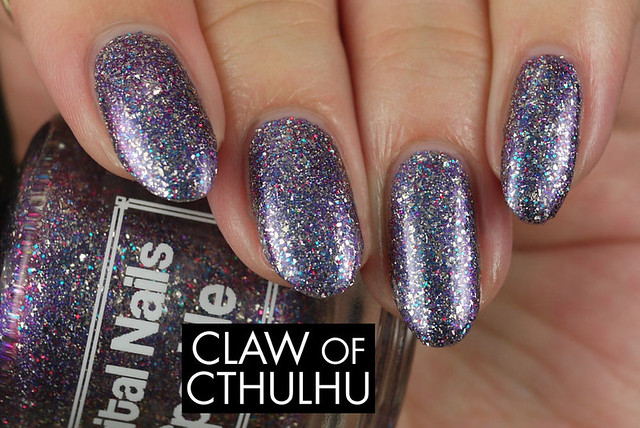
I know... I know... I wish I could get sunshine in my light box too.
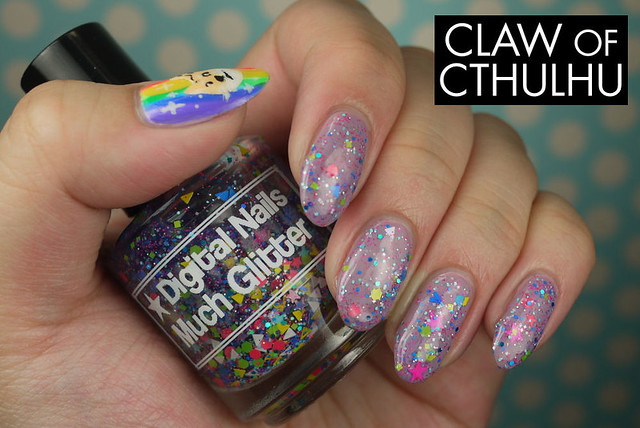
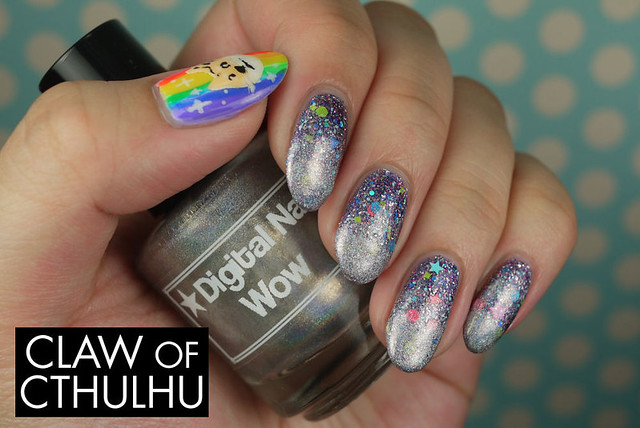
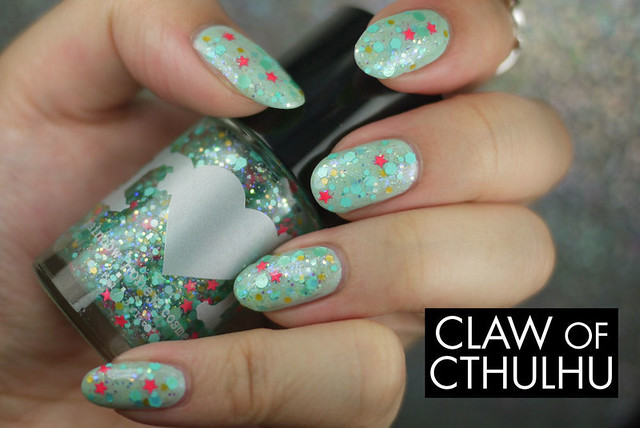
I really tried to think about what I could do to make nail art of this. As you saw yesterday, I added Much Glitter:
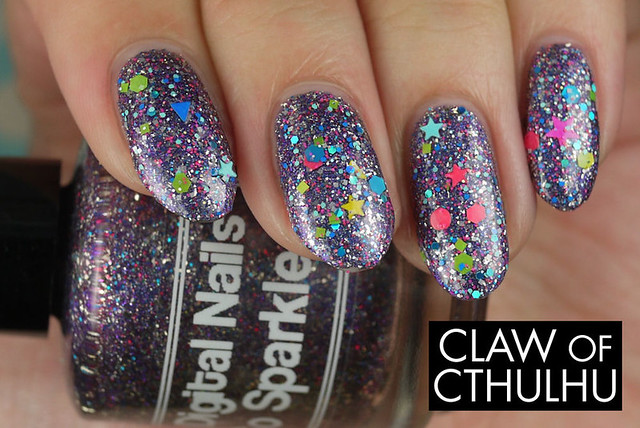
And I'll be honest... I think Much Glitter and So Sparkle pair VERY well. The only other nail art I could think of was to add gold striping tape and maybe fill in some black blocks. But even then... So Sparkle holds up so well on its own, I wasn't quite sure what to do! Maybe some white stamps? But I feel like it would interfere with So Sparkle's insane duo-multi-polychrome thing it's got going on!
So guys, let me leave it to you... This one gave me "nail art block" - how would you pair this guy? How do you tame a beast that is insanely glittery and duochromey? Do you work with the colour shifts, cover it with a topper, or do you do skittles? What do you think?
Full disclosure: This sample was provided for an unbiased review.