Hola, OK so I am going to be gone for a few days. Why, you ask? I'll be hitting up PAX Prime in Seattle for work and then I'm taking Labour Day and possible another day off, but we'll see. With that said, my updates and catch up on your wonderful blogs will be sparse until I can get Claw of Cthulhu running to full potential. Edit: I totally started writing this before I left but now I am here and I can definitely say that this is my last post until the second week of September (I think)... So let's try to make it good? Here we go:
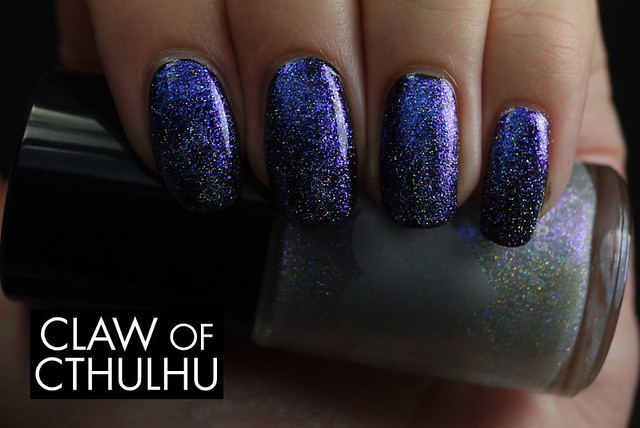
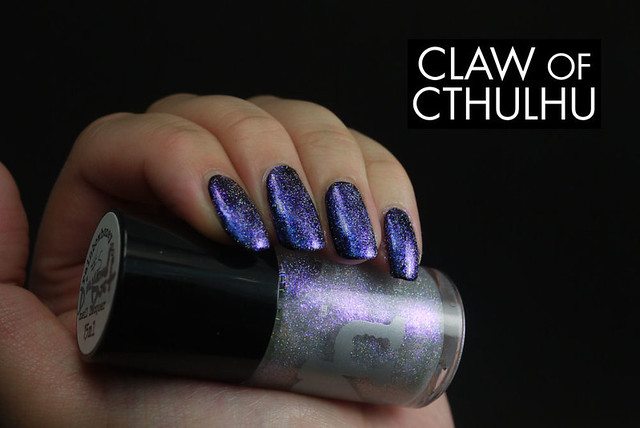
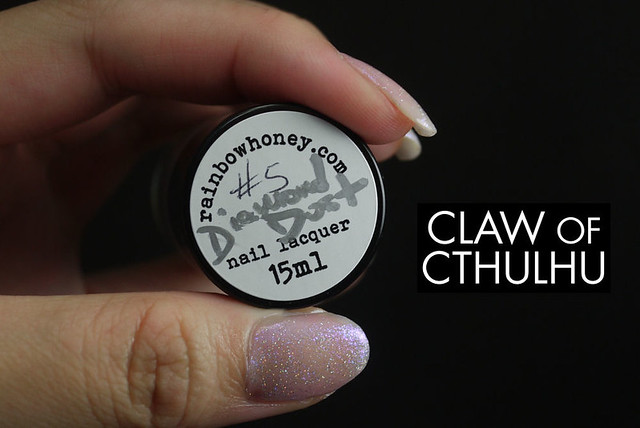
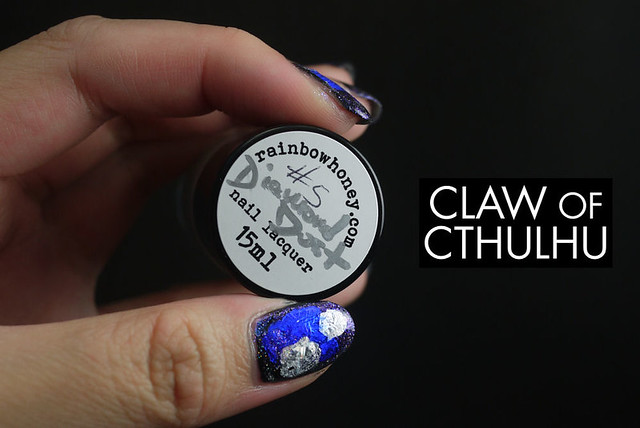
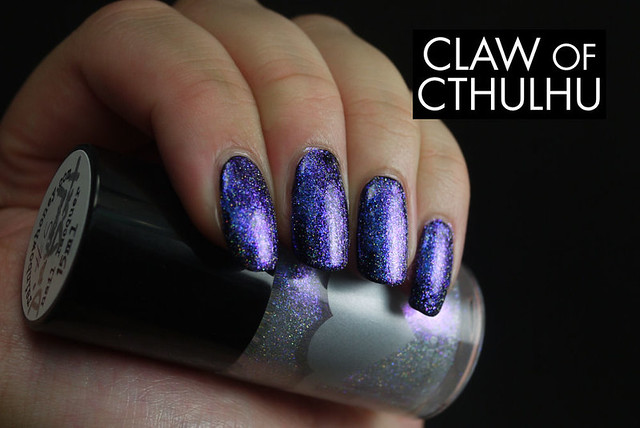
So here's a first look of something that is in the works at Rainbow Honey, soon to be released this season: this is Diamond Dust, from Rainbow Honey's Final Fantasy inspired collection appropriately named "the Final Battle". I know, right? As soon as I saw the graphic teaser from the Instagram account, I pretty much got my Prelude pump on (because that's a thing in my world). I'm very honoured to be sharing this. This is a "beta copy" of Diamond Dust, so there's no officially released description. The best way I can describe it is that Rainbow Honey Diamond Dust is a pink purple blue multichrome shimmer topper, with holographic flair throughout. Spoiler alert: It's fucking incredible.
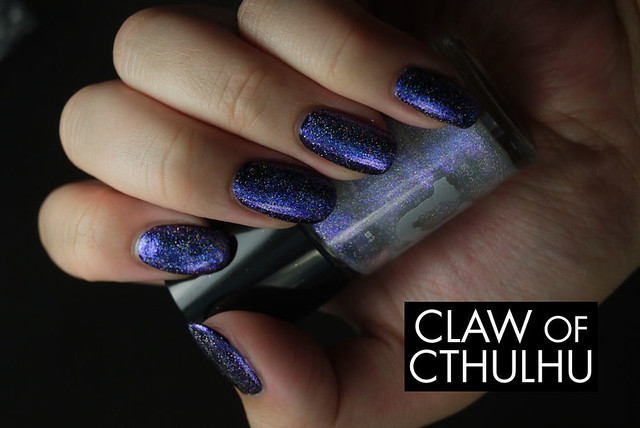
Here's one coat of Rainbow Honey Diamond Dust over OPI Black Onyx:
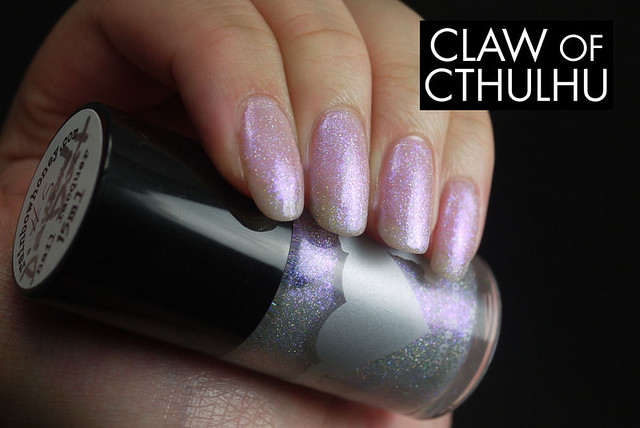
For funsies, I wanted to see how it would look over a neutral, lighter colour. Here is one coat of Rainbow Honey Diamond Dust over OPI In The Spot-Light Pink:
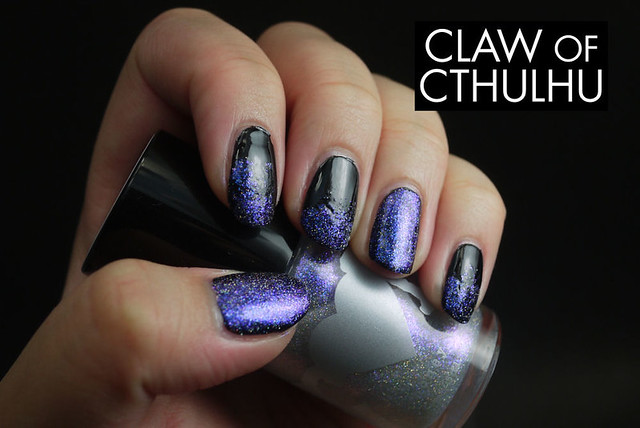
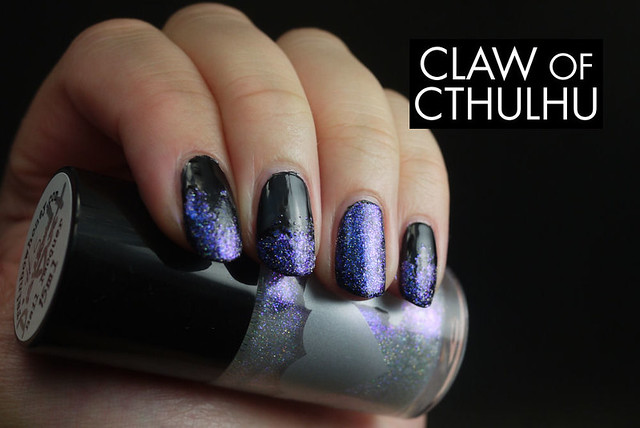
I actually wanted to bring Rainbow Honey Diamond Dust with me to PAX Prime (video game inspired polish for a video game convention, why the Hell not right?) so here's Diamond Dust sponged tips with a full Diamond Dust highlight nail on top of OPI Black Onyx:
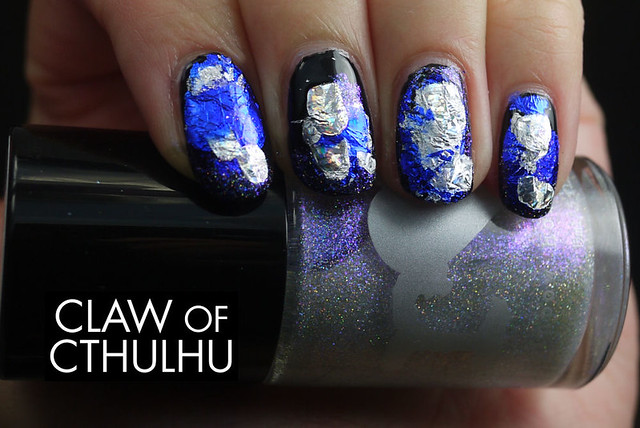
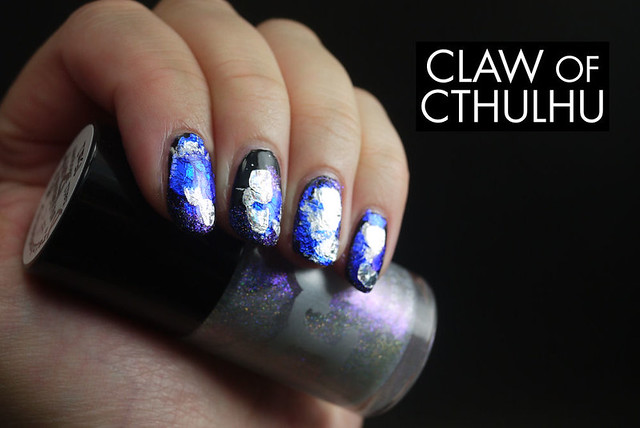
And the final form of my PAX Prime nails? I used some of that Ciate foil. I am not sure if I actually like it but it certainly helps with the illusion of it lasting longer because it's so inconsistent and can stand a few chips before wear gets obvious:
Overall, I find Rainbow Honey Diamond Dust to be a lot of fun. I don't usually like toppers because I don't like the idea of having to rely on already having a different coloured base polish for it to "work" but what's the actual difference between a topper and a glitter? Not much. I think Diamond Dust is set apart because of the very prominent holographic glitter flair and the strong shimmer. It's definitely better over darker colours. I tried it over top of black as well as a navy, but there isn't a significant difference in photos. In person, the topper definitely takes more from the base colour but like I said, it's fairly subtle. The shimmer is fairly prominent.
That's all for now! I'll be back in a while! What do you think of Rainbow Honey Diamond Dust? Are you ready to see more from the Final Battle collection? Will you be at PAX Prime? If so, come find me!
Full disclosure: This sample was provided for an unbiased review.
Saturday, 31 August 2013
Thursday, 29 August 2013
Fandom Cosmetics Rei Hino Swatch and Review
I've been struggling to keep this blog afloat but I've got two more posts for this week. Obviously I haven't been able to stick to my Monday to Thursday schedule but I've got them ready. Or rather, I will. Anyway, more on that later. Today I've got a polish from Fandom Cosmetics - we've seen them on this blog before. They do offer a blogger discount, so after I was sent a batch for review, I went ahead and ordered a couple on my own accord. You'll see why I couldn't resist this one...
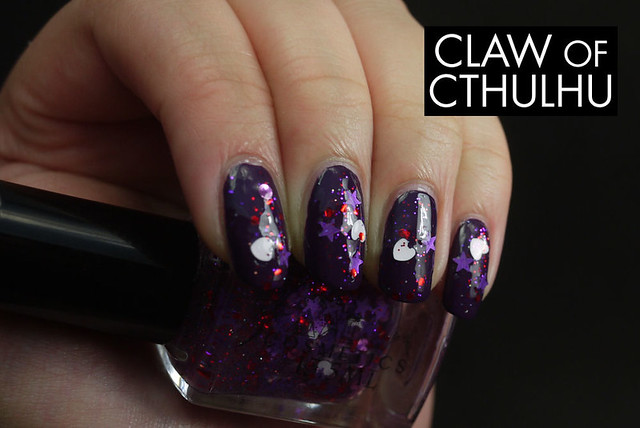
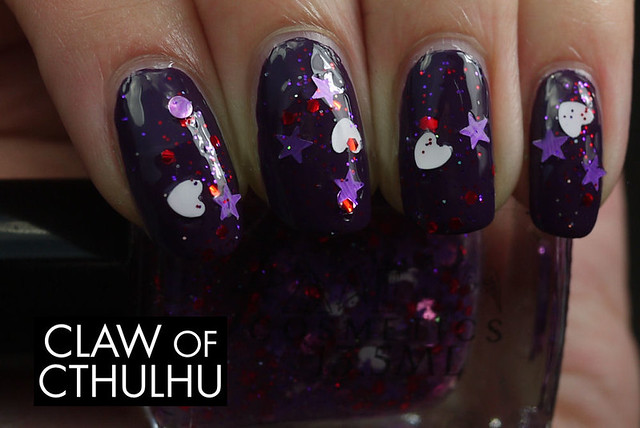
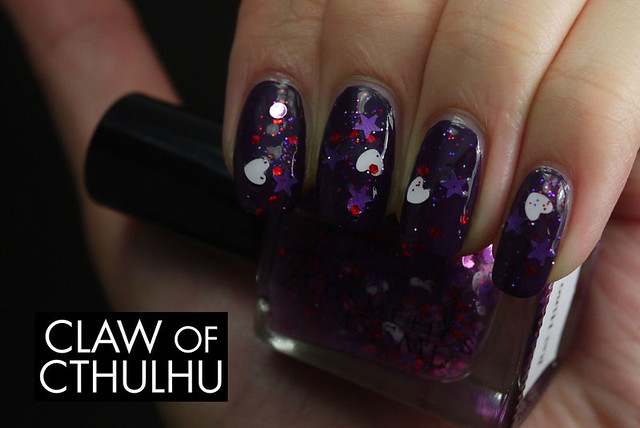
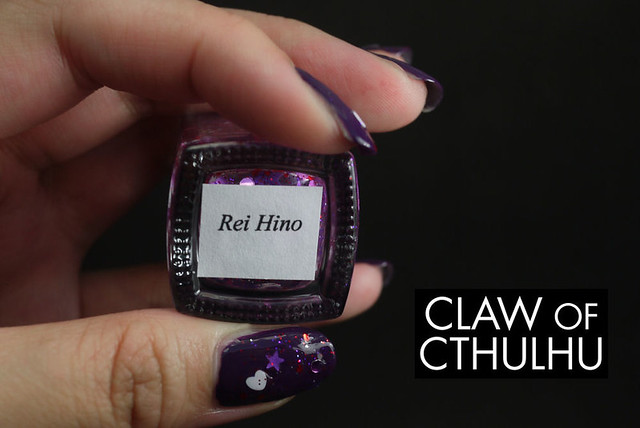
This is Fandom Cosmetics Rei Hino, a polish inspired by Sailor Mars. As described on their shop website, "It is a sheer purple base filled with eden pink circles, purple stars, red hex, and white hearts." Sounds about right, and totally on par for the course! The formula was good and of course there was some glitter placement, but that's to be expected with shaped glitter like this. Here's one coat of Fandom Cosmetics Rei Hino over OPI Vant To Bite My Neck?:
In my opinion - one of the stronger polishes in Fandom Cosmetics' Sailor Moon inspired collection. It doesn't feature any glitters that are particularly thicker than others and I am also biased because Sailor Mars was my favourite scout. I mean - I have a giant tattoo of her!
What do you think of Rei Hino? I thought a deep purple was the only way to fly but what would you layer the polish over?
Tuesday, 27 August 2013
Sally Hansen Complete Salon Manicure White Out Swatch and Review
Oh hey guys it's that special time of the week where we explore and discover polishes that are found for $5 or less! So this one isn't a stranger to Claw of Cthulhu, but is to Cheap Polish Tuesday. Today I have a Sally Hansen Complete Salon Manicure which I found in the discount bin at Shoppers Drug Mart for $5. Still a little on the pricey end but definitely not $9, which is the usual price for these ones.
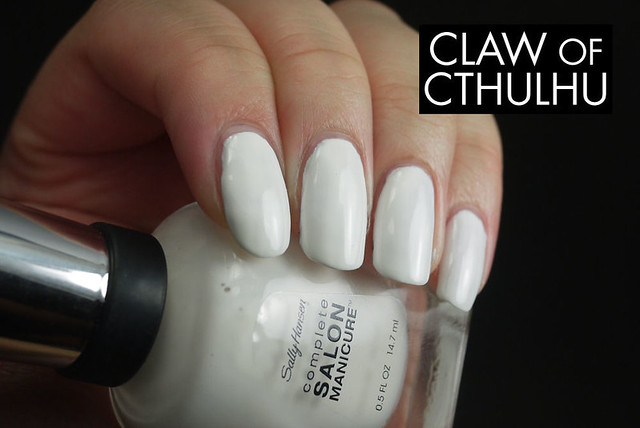
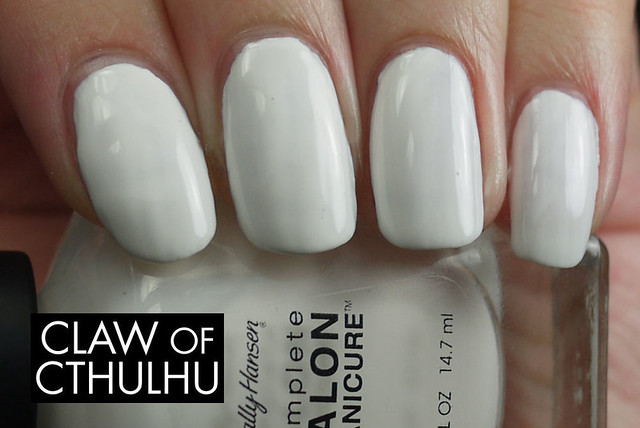
Sally Hansen Complete Salon Manicure White Out is a white creme, that is actually very surprisingly a limited edition polish. I was hoping to find something that could keep up with OPI White Alpine but unfortunately this is not it. While it still applies OK, it still requires two and an extra ha;f coat for coverage of the patches. It applies smoothly, but still tends to be a bit patchy. Here's my swatch of Sally Hansen Complete Salon Manicure White Out in two and a half coats with no top coat:
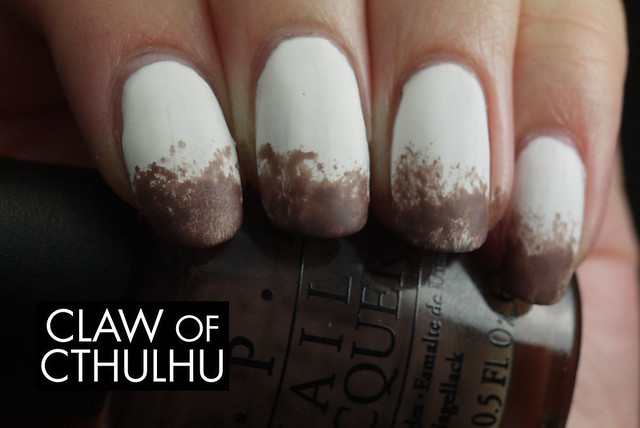
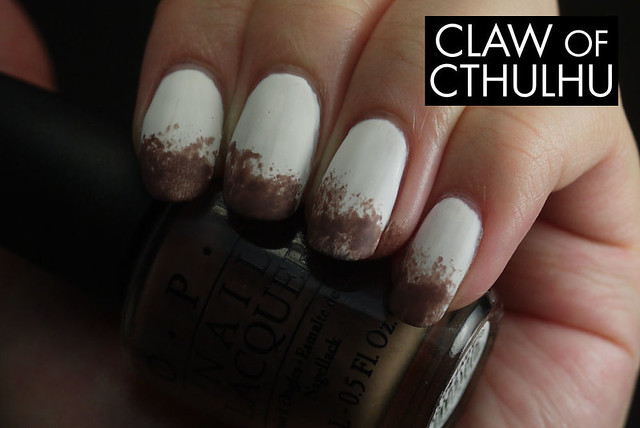
And for funsies and unfortunately this did not go as planned - I sponged some OPI You Don't Know Jacques! on my tips. I guess I underestimated the density of the formula and instead of looking like a subtle grey gradient, it looked like I dipped my finger tips in dirt. LOL SO BAD. So I went along with it and even applied some OPI Matte Top Coat:
It was so bad I had to remove it right away. I didn't bother keeping this one for longer than 5 minutes. Yikes.
What do you consider to be your ideal white polish? Would two and a half coats suffice for you? Have you ever created some serious disaster nail art that you had to remove ASAP?
Monday, 26 August 2013
Ciate Very Colourfoil Manicure: Kaleidoscope Klash Nail Art (First Attempt!)
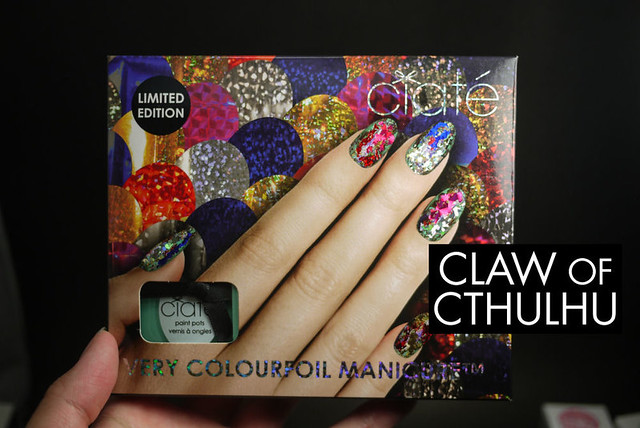
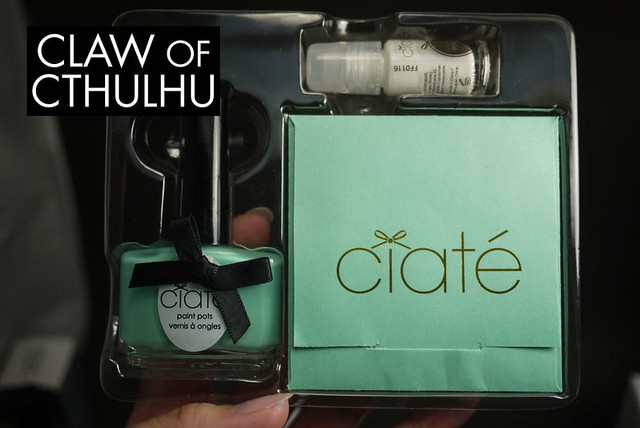
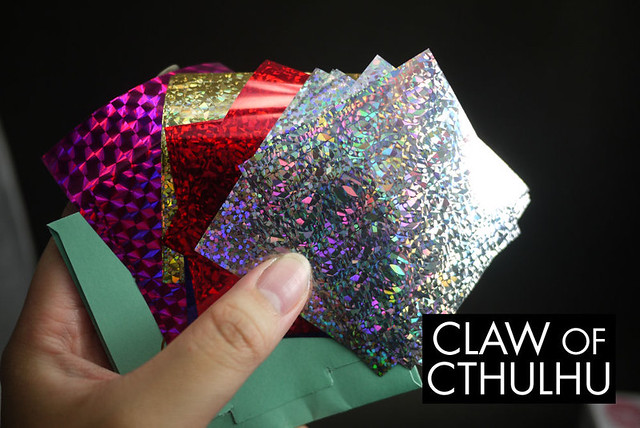
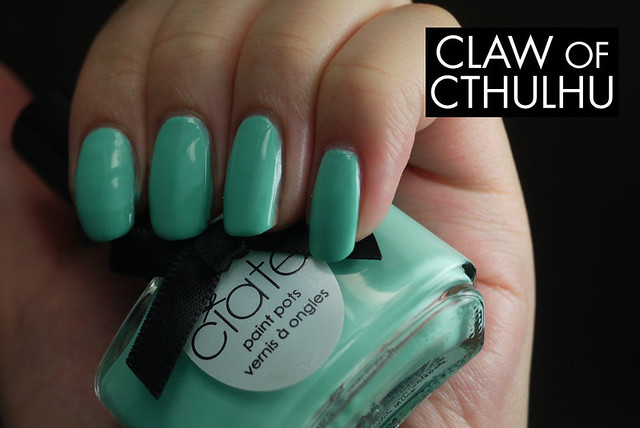
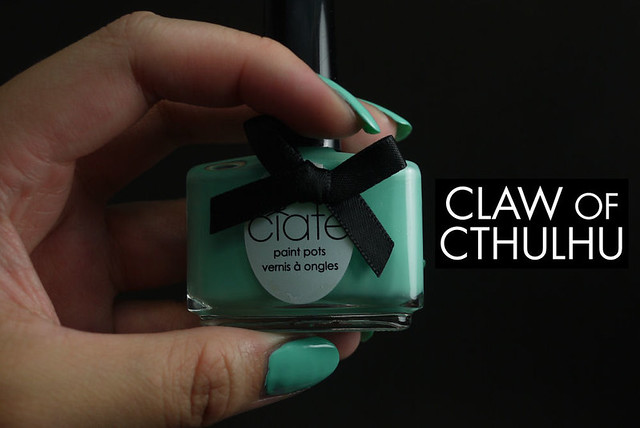
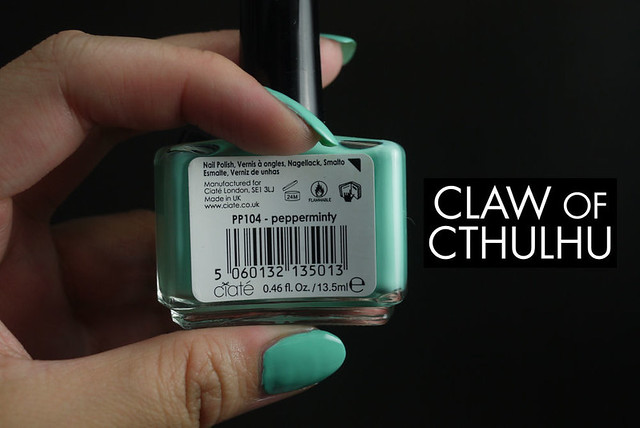
Well this might be the fastest I've posted something after purchasing, haha! I was just so excited when I found these Ciate nail art sets at freaking WINNERS! I NEEEEEEEVER see this kind of stuff at Winners! Anyway, not like it's Cheap Polish Tuesday and it's supposed to be Shitty Nail Art Monday but aw heck, I'll talk about the prices anyway - I found these sets for $10 at Winners, which is priced at $19 USD on Sephora, but I am willing to bet they're about $21-24 here in Canada but that's just how it goes. So I was pretty excited to find this set. I picked up two. This one is "Kaleidoscope Klash" and it includes: Ciate Pepperminty Paint Pot, Foil Fix Glue, Ciate branded nail swatch wheel, and a matching 'Pepperminty' envelope containing the following foils: Blase (red), Babe (hot pink), Bounce (gold), Beaut (cobalt blue), Bloom (rose tinted silver holo) and Brill (patterned holo silver). Here's le box:
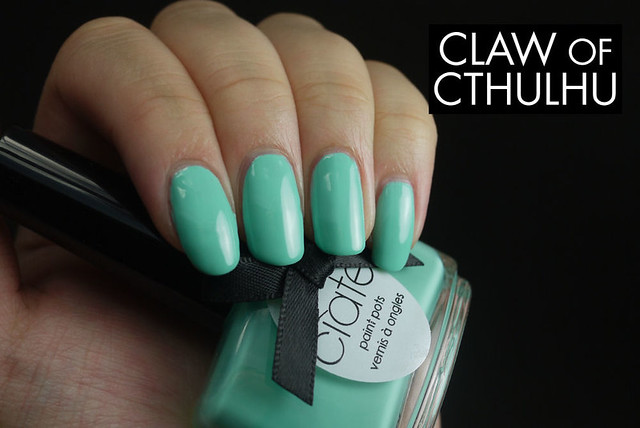
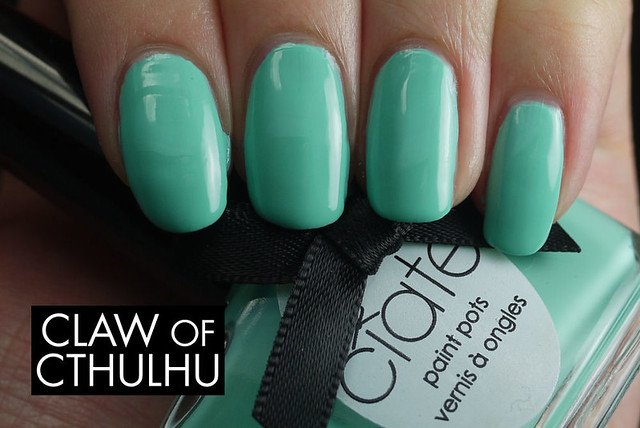
Here's a swatch of Ciate Pepperminty, which is, again, my krptonite colour... A Tiifany blue-esque mint. Formula and application were flawless. Fairly milky and thick creme but workable in its own way. Also I have to add that I think it's hilarious that Ciate calls their nail polish "paint pots". It just sounds weird. Way to beat around the bush, guys. Anyway here's two coats with no top coat:
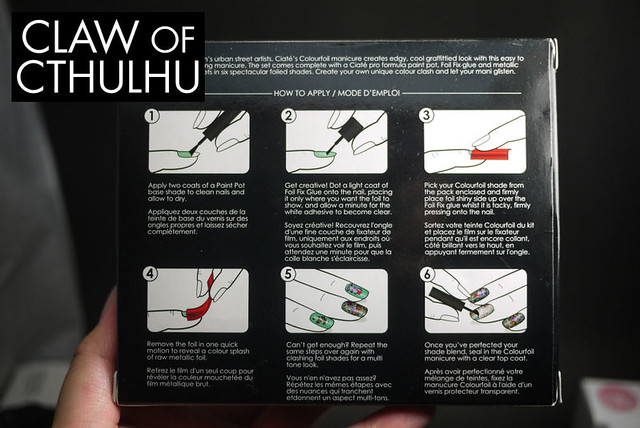
So here's where the fun begins. So once the base colour is dry, you're ready to FOIL ALL THE THINGS! The instructions say to paint the "Foil Fix" explicitly only where you want the foil to be. Once the fix turns clear (as it applies white), you're ready to press the foil sheet on, and lift up.
Well. In the ideal world. My application was far more sloppy due to my lack of patience.
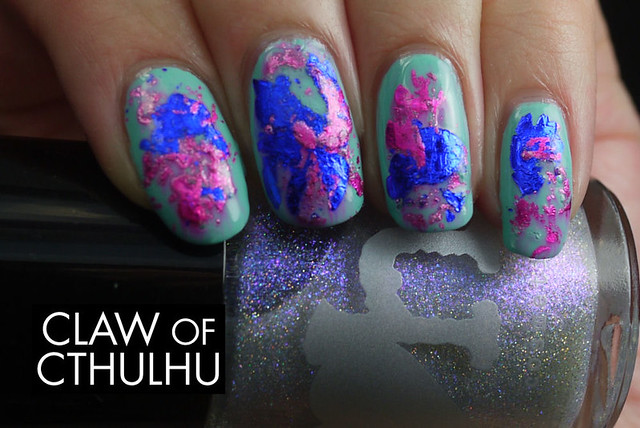
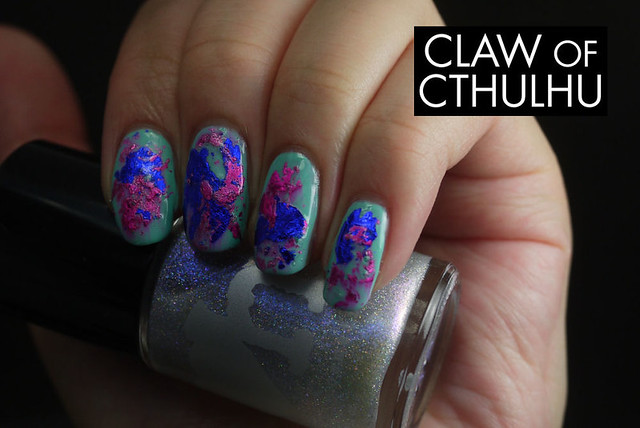
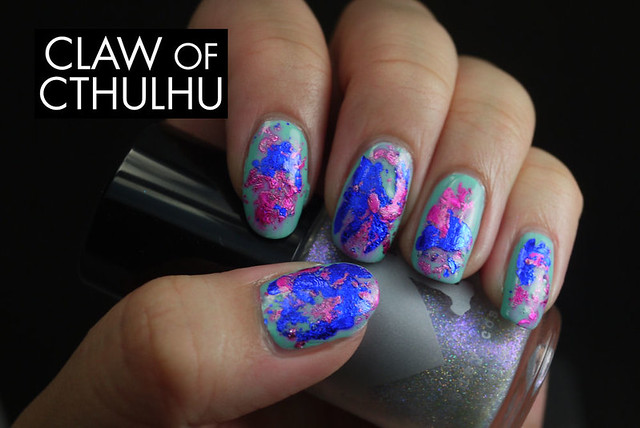
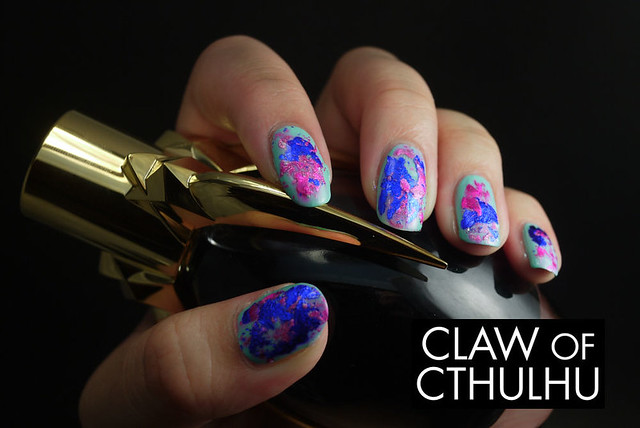
So firstly, the "Foil Fix" just looks like your regular old PVC glue but I can't confirm what it really is. It says that it takes a minute to dry which is probably the case but I probably waited close to 30 seconds. Then I pressed a foil sheet on and lifted. It looks fairly cool. I wanted to see if there was any way to keep dabbing, and so I did. Some came off, but it smudged the foil patterns. I am actually not too attached to them - I was moreorless just interested in how it looked close to spatter nail art. Overall, I really dug the effect. I decided to keep things simple with two foils - here's Ciate Babe and Beaut foils over top of Ciate Pepperminty with a coat of Seche Vite:
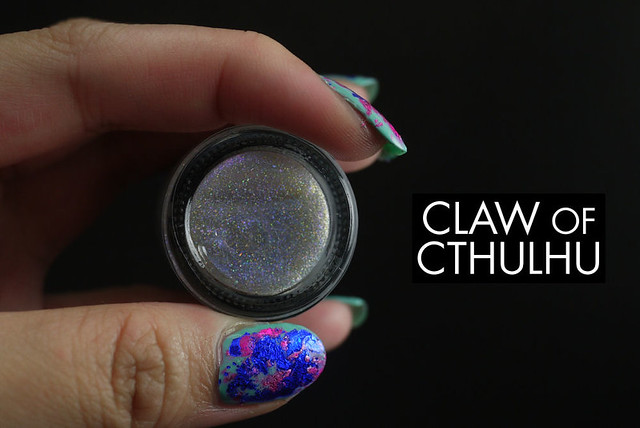
I might have tried to let Rainbow Honey photobomb those shots back there... *cough* it may be a sneak peak of something I'll share at the end of the week. (Spoiler alert: It's something I'll be sharing at the end of the week.)
Anyway, even though I didn't follow the directions explicitly, I still really like the look! I know you're supposed to preserve the patterns, so I think I'll try that for next time. I am going to be trying this again before I head out of town so I'll share the results then!
Have you tried Ciate Colourfoil Manicure or any of their other DIY nail art kits? What's your favourite discount store?
Saturday, 24 August 2013
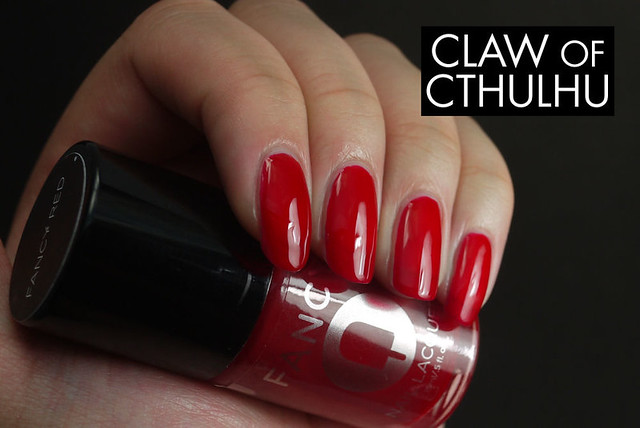
Fancy Nail Lacquer by Rainbow Honey Fancy Red Swatch and Review
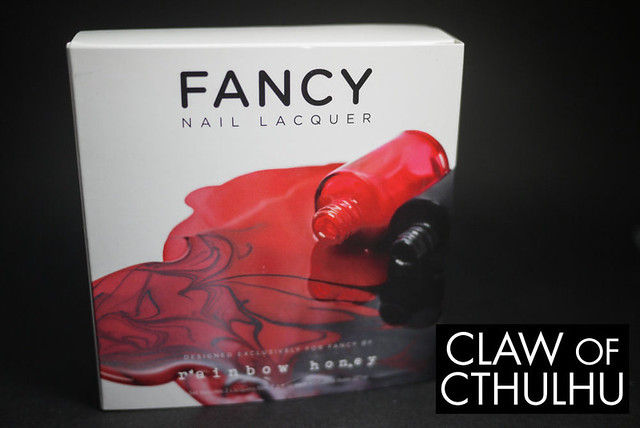
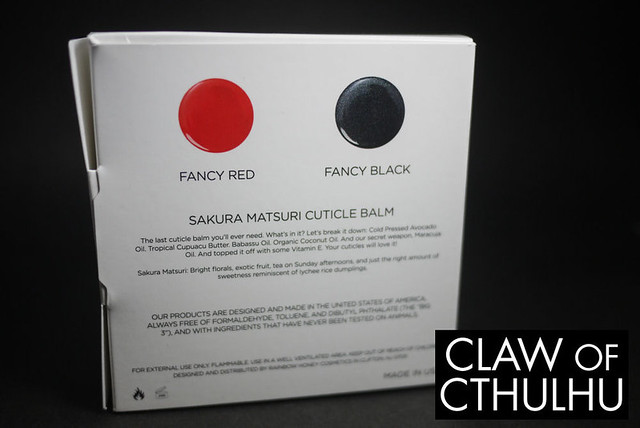
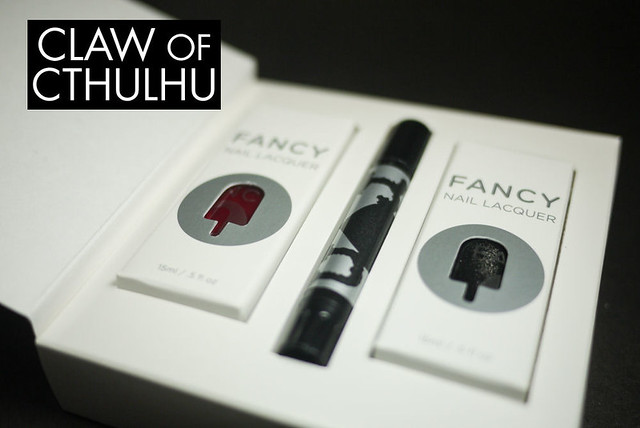
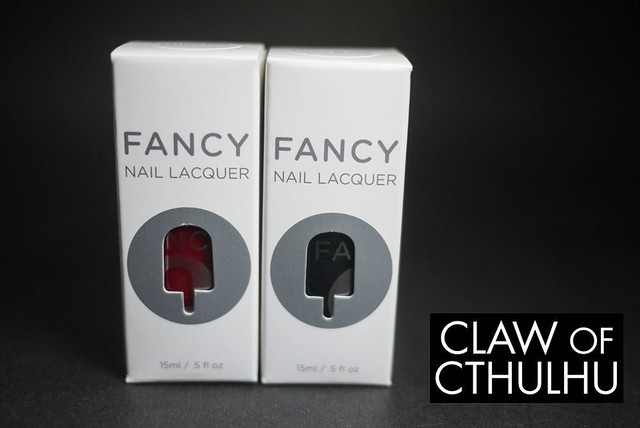
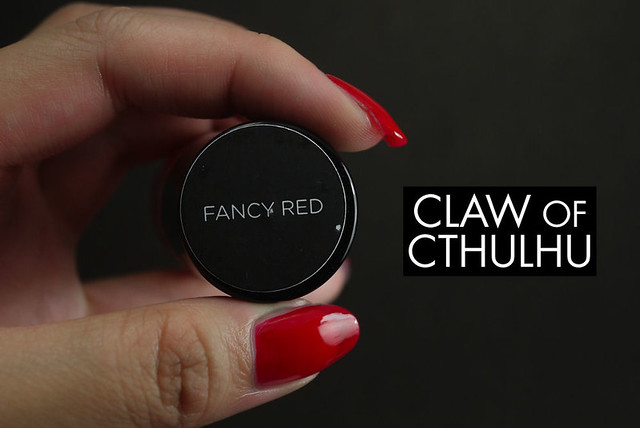
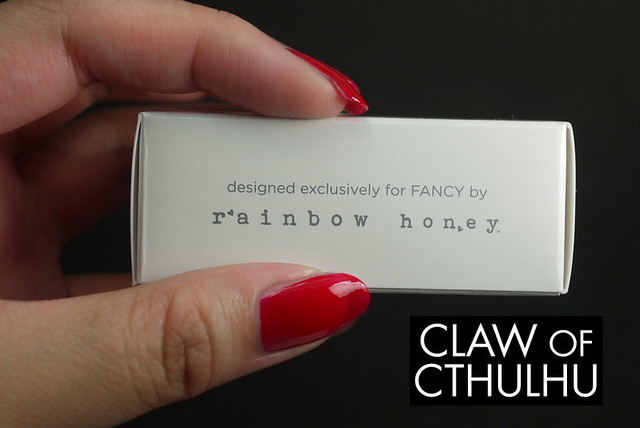
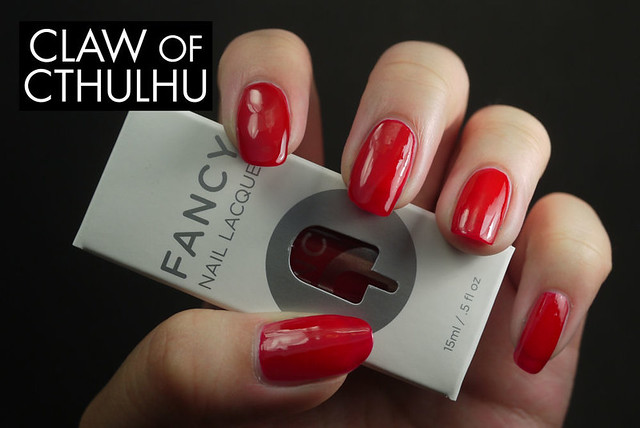
It's Saturday. I know. Absurd. But I am here to conclude the week I was unable to during the week but such is the life of 16 hour work days. So I am happy to report that I slept in today and caught up on all the glorious sleep I otherwise missed out on during the week. I feel good so I feel good to share with you some Fancy Red. Again, if you missed out on the packaging post, I'll copypasta it for you. This is Fancy Nail Lacquer which is a collaboration between Fancy and Rainbow Honey. It has Rainbow Honey written all over it (almost literally):
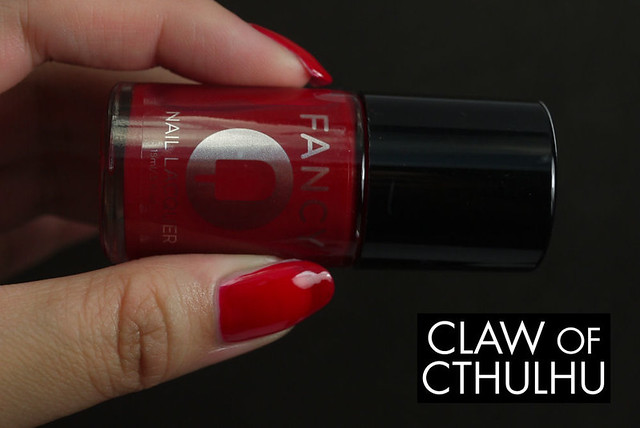
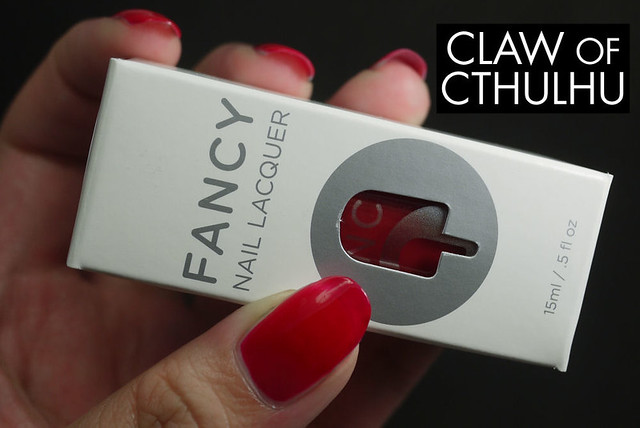
So already we're seeing some pretty signature stuff from Rainbow Honey. The signature well-packaged box. The well produced photograph, printed on high quality paper. Great graphic design, great package. Rainbow Honey event included one of their own branded cuticle sticks.
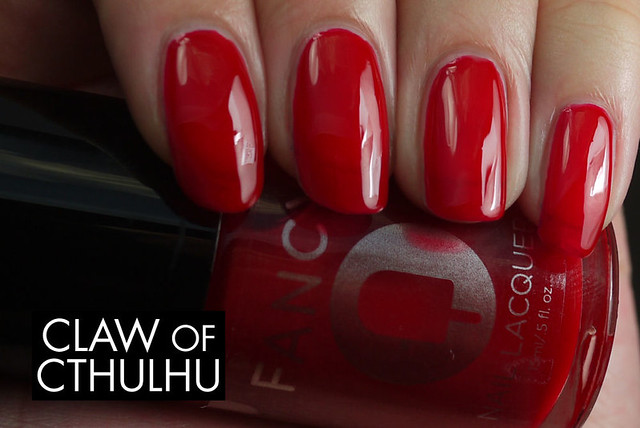
So Fancy Nail Lacquer by Rainbow Honey Fancy Red is actually a bit of a squishy jelly. It's a vibrant red jelly. Not a creme! Huh. How about that? Formula wise it was pretty good and went on opaque after two coats however, I wanted it a little thicker because I hate it when jellies reveal where my free edge starts. So here's my swatch after three coats, with no top coat:
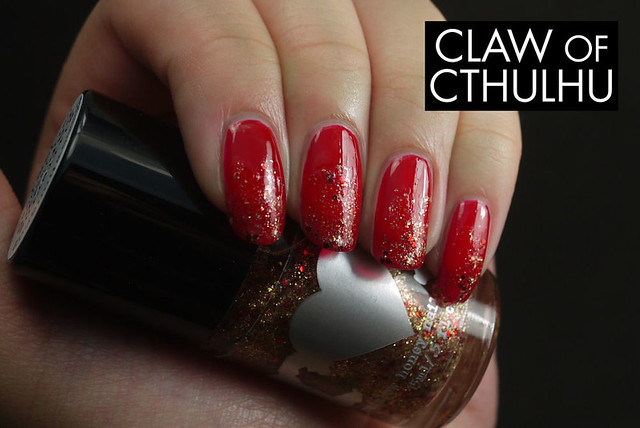
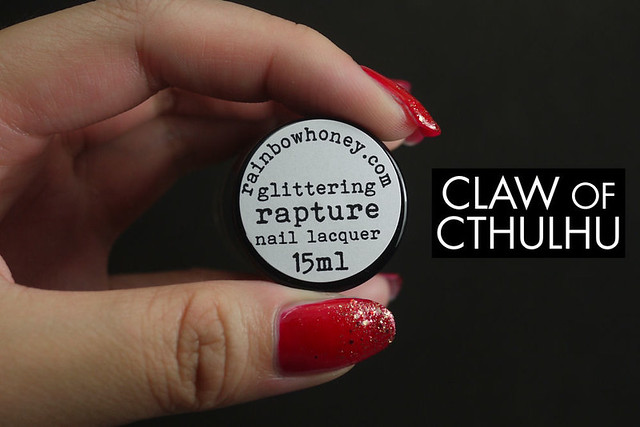
I am digging it. It's fairly nice. Would be good for jelly sandwiches if you fancy that kind of thing as well. For funsies, I added some Rainbow Honey Glittering Rapture to my tips. Because I was getting self conscious about that free edge, haha:
Again, I like Fancy Red but it's not that unique to go the extra mile for with Fancy's insane shipping requests for Canada. Definitely more of a collector's polish than anything else.
What do you think of Fancy Red? Do you have a red jelly that might be similar? Do you enjoy sleeping in on the weekends as I do? Hope all of you enjoy the rest of your weekend!
Subscribe to:
Posts (Atom)