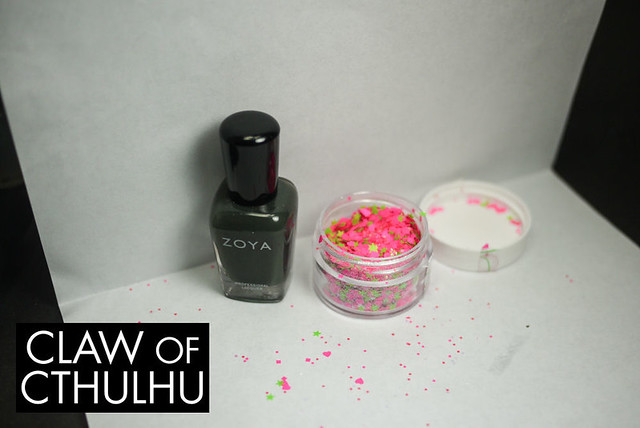
This particular permutation is Rainbow Honey Electric Love Nail Art Glitter (phew, that was a mouthful!). It's a small pot, plentiful filled with iridescent micro glitter, neon pink hearts, mega hexes and multi-sized squares, a slight off neon pink raspberry hex, and a pinch of neon lime stars. I went through a bit of trial and error with applying this as I've never played around with loose glitter before - totally foreign to me! As a foundation, I had one of my invoices folded so I could dump the excess back into the pot. At first, I would apply a coat of polish, and while wet, I would pinch a bit of the nail art glitter and throw it onto the nail... It didn't make for a lot of control!!! What I found worked a bit better was I took a couple of pinches and put them onto my working paper foundation. Then, I would essentially "pick" which glitters I wanted to have fall on the nail. I would pick bigger glitters first, then pick up the small ones. I think I've still got a ways away to get this looking good, but I did like my results!
As inspiration, I took Dee's glitter spill from Instagram and applied it to my nail. For the base, I used Zoya Noot. (I wish I had a slightly lighter grey but apparently out of 400+ polishes, I don't have one!)
Here's my successful one first, haha. This is where I used the method of spilling the glitter first, and then picking which glitters would fall onto the nail. I used Seche Vite to finish it off with a nice sleek finish:
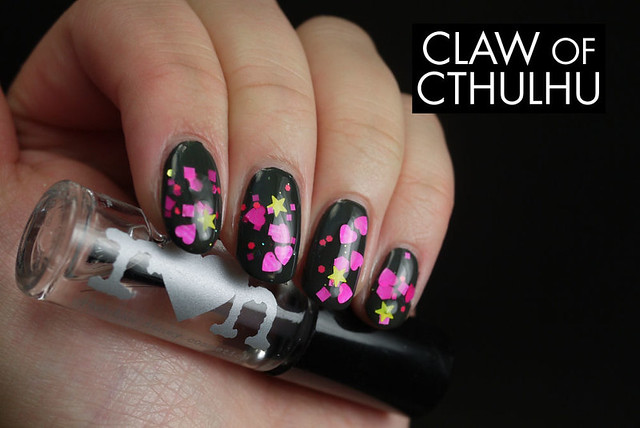
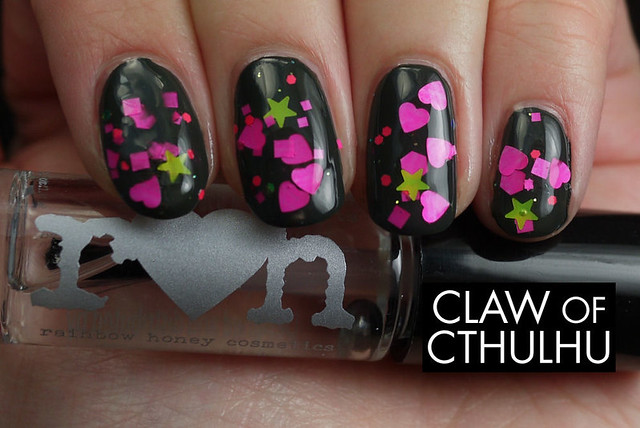

Now here's the go where I was pinching a bunch of random glitter from the pot and basically throwing it onto the nail. *headdesk* Yeah, that's me, clumsy ol Cthulhu. For this one, I finished it with the Rainbow Honey Unscented Top Coat, which I think might work as a usual top coat, but as a top coat for glitter - it dries too thin to have a nice even finish. The ridges of the glitter shapes still stand out. I'll have to re-evaluate it when I use a regular non-glitter polish. For now, Seche Vite is still my top vote, hands down:
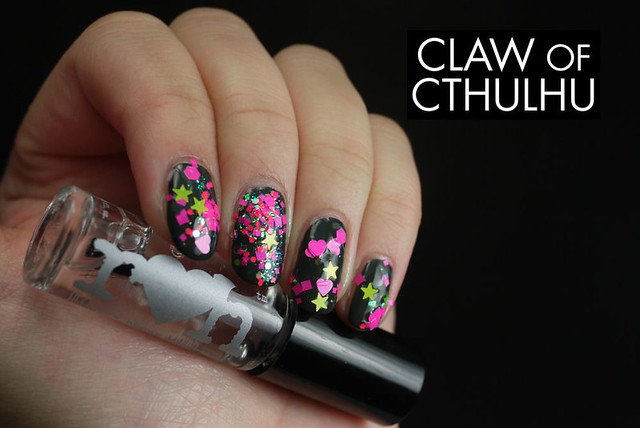
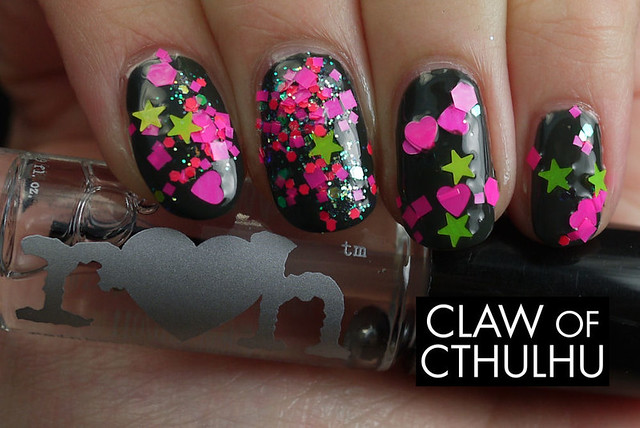
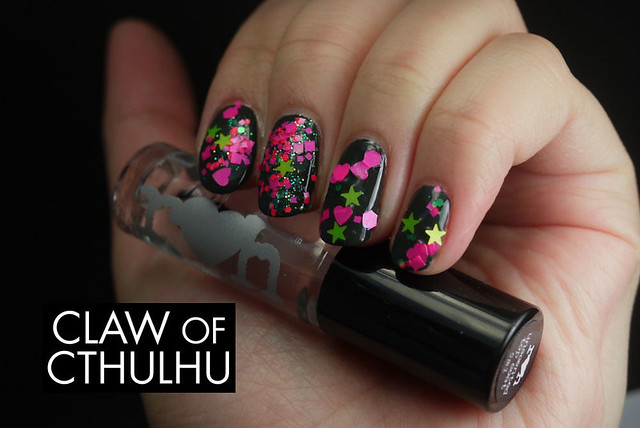

You know, I actually ended up thinking this product was a lot of fun and produced a nice result. I was pretty apprehensive but once I figured out how to get more control of the glitter, it actually turned into a lot of fun. I did have some smearing with both top coats with this combination but I think it was due to my own impatience. I would still recommend to use Seche Vite as these glitters are a bit larger than usual and need that extra thickness to even the surface to a nice glossy finish.
What do you think about working with loose glitter? Do you have a favourite top coat for glitterbombs? Let's say good riddance to February already, have a good weekend guys!

Seems like a fun thing to play around with for sure! I bet if you wanted to get a more embedded in the polish look, a jelly sandwich would work wonders. :)
ReplyDeleteYes! I thought about doing a jelly sandwich as well! I think I'll try that for next time! :)
DeleteHand placement with loose glitter is definitely the way to go. I really like the colour mix in this one, the neon screams summer!
ReplyDeleteAs you know me, my trick to a smooth finish over glitter is 2-3 layers of top coat. Yeah, top coat FTW! :p
Hand placement is totally the way to go but man I am laaaazy, haha! I do quite like this nail art glitter mix and I think it's the best of the bunch that RH is putting out right now. But I really want that Patty's Parade one. So cute.
Delete