(Seriously?)
Seriously.
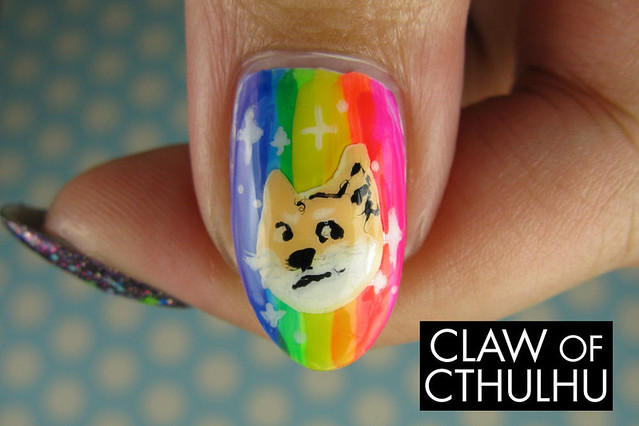
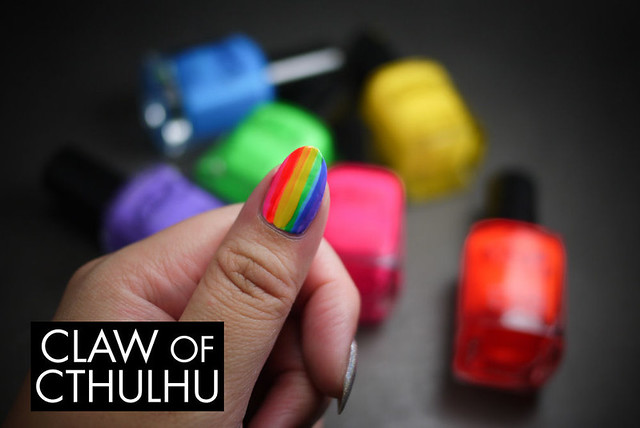
I based my Doge meme nail art based on the image that Digital Nails posted on their Facebook to announce the Doge collection. This nail art is accomplished by two parts: a DIY decal, and a rainbow background done on the nail. What you will need for this Doge Meme Nail Art:
DOGE DECAL
+ clean plastic bag (I used a sandwich bag)
+ scissors
+ tweezers
+ fine nail art brush
+ white polish (I used OPI Alpine Snow)
+ yellow polish (I used Essence Wanna Be Your Sunshine)
+ orange or red polish (I used Red Fame Fatal)
+ black polish (I used Sally Hansen Black Out)
RAINBOW BACKGROUND
+ fine nail art brush
+ white polish (I used OPI Alpine Snow)
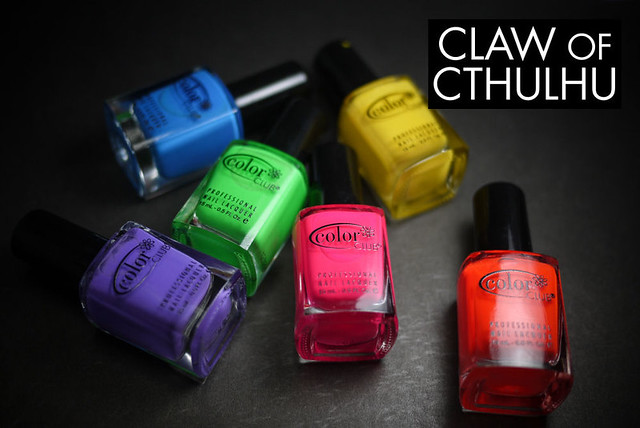
+ bright or neon purple polish (I used Color Club Pucci-Licious)
+ bright or neon blue polish (I used Color Club Chelsea Girl)
+ bright or neon green polish (I used Color Club What A Shock)
+ bright or neon yellow polish (I used Color Club Almost Famous)
+ bright or neon orange polish (I used Color Club Wham! Pow!)
+ bright or neon pink polish (I used Color Club Warhol)
Total time required: 6-8 hours
Now, you can actually work on the RAINBOW BACKGROUND, the same time as you work on the DOGE DECAL, no problem. But first, let's start off with the decal. You will need to paint two coats of white polish on your clean plastic bag.
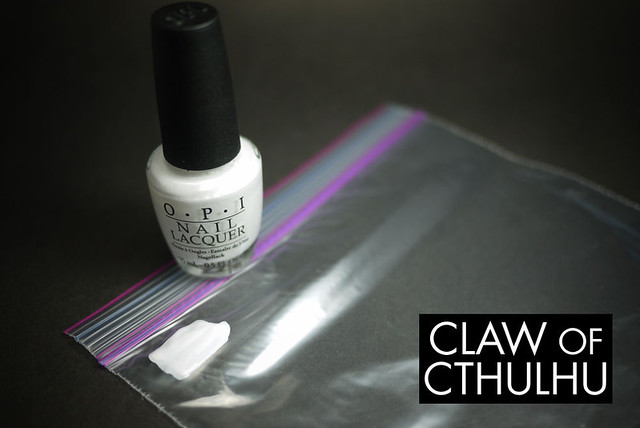
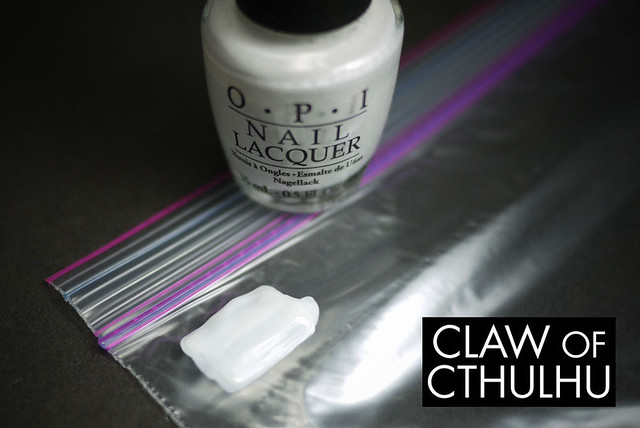
You want two coats because the decal has to be thick enough to lift off from the plastic bag and it creates a bit of durability. No more than two coats because if it's *too thick*, it will rise off the nail!
Set aside the plastic bag and let the white nail polish dry.
Grab your bright or neon polishes.
Paint your nail with one coat of white.
From the outside edge of the nail, start painting your rainbow. Don't mind the overlap as it creates a slight gradient effect. Work by painting one edge of the nail and then switch to the other edge - working towards the centre. My order was: purple, pink, blue, orange, green, yellow. Using the polish brush is fine for this.
Return to the plastic bag decal. Start creating Doge's head by painting a circle with two colours and shapes for ears. I used a mixture of white, yellow and red polish to create two distinct colours. When mixing your colours, the less you put in - the more subtle the colours are. Be careful! When painting Doge's face, try not to go over where you've painted. Painting with nail varnish is VERY tricky as it sticks to the layers underneath it and makes it tacky again!
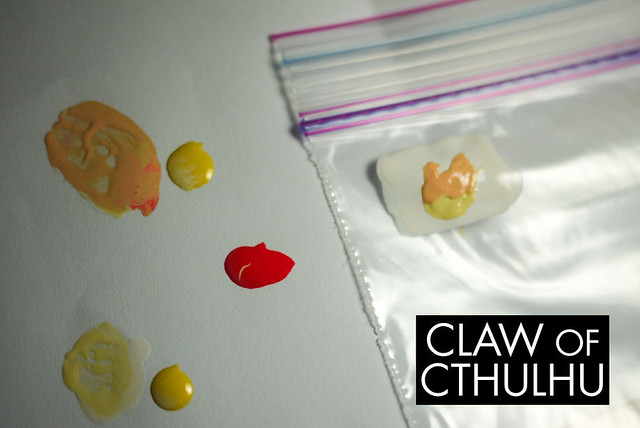
Let set for 5-10 minutes.
Begin to paint the face details - again, less is more. Pick up the tiniest amount of black polish on your nail art brush and create the nose. This centers the rest of the face. Paint the eyes and mouth. You can add optional white highlights, but it's unnecessary.
Does it look like a lumpy mess? Don't worry about it. It's normal.
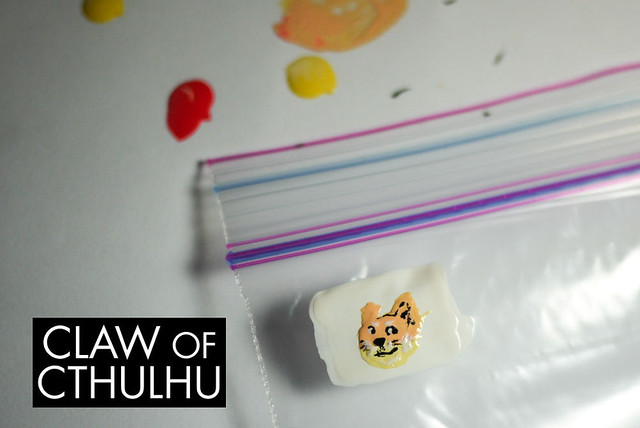
Let set again. This time, you are letting it set overnight. I waited about 5 hours.
While waiting for the decal to set, you can paint tiny stars on your rainbow nail with your fine nail art brush. I painted little crosses and added little dots.
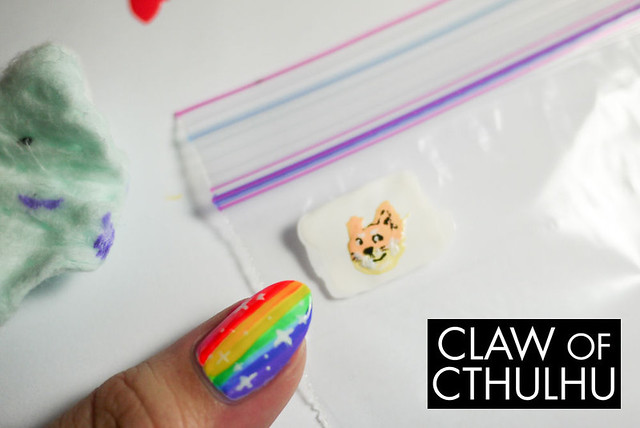
I made a few modifications to my Doge face before I set mine overnight. Once dry and hardened to the touch, use a pair of scissors to cut out your decal. I cut a larger portion of the decal out, and then trimmed closer and closer to the shape I wanted Doge to be.
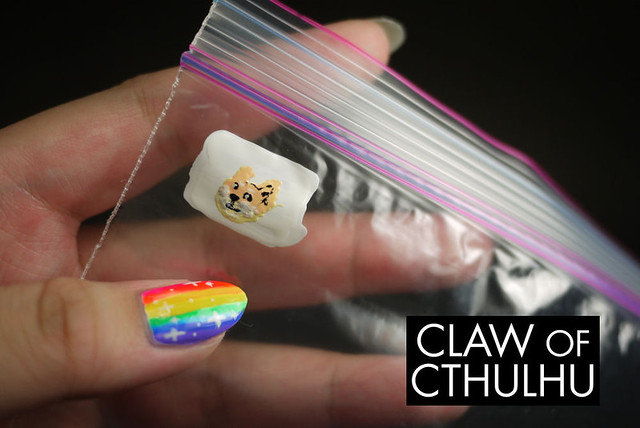
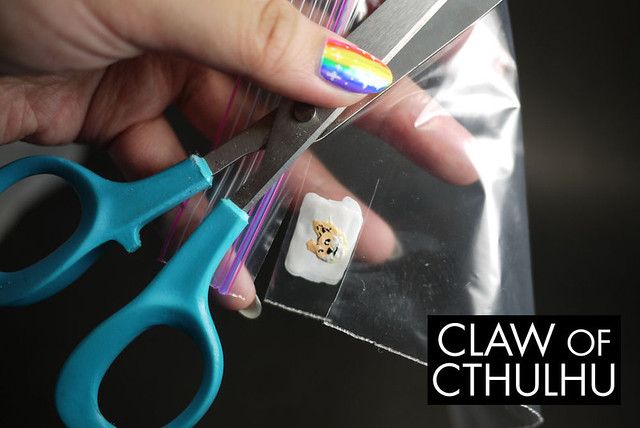
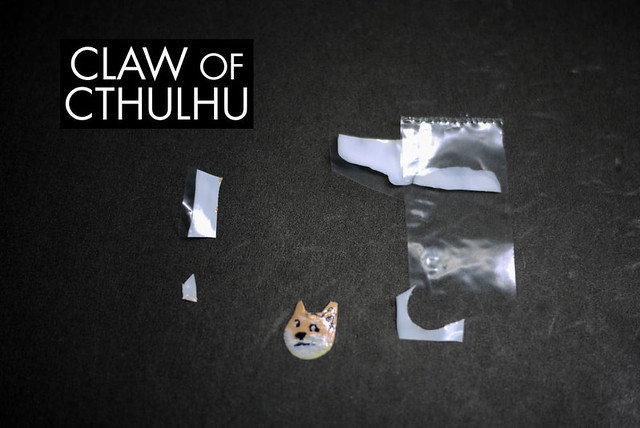
Very carefully, use a pair of tweezers to lift your Doge decal off from the plastic.
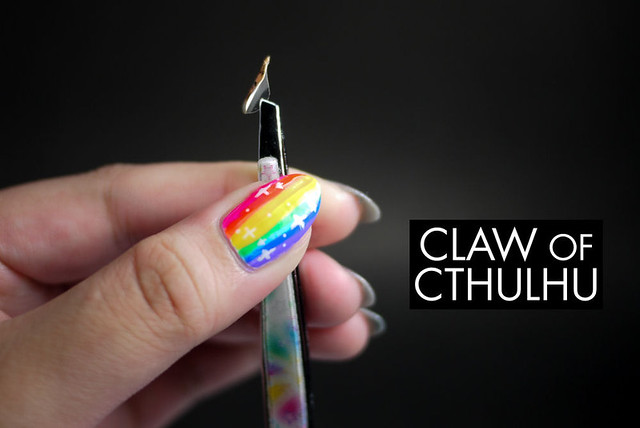
Dab your nail lightly with a bit of top coat, and set your decal.
Finish the whole look off with a nice coat of top coat. I used two coats because I am insane.
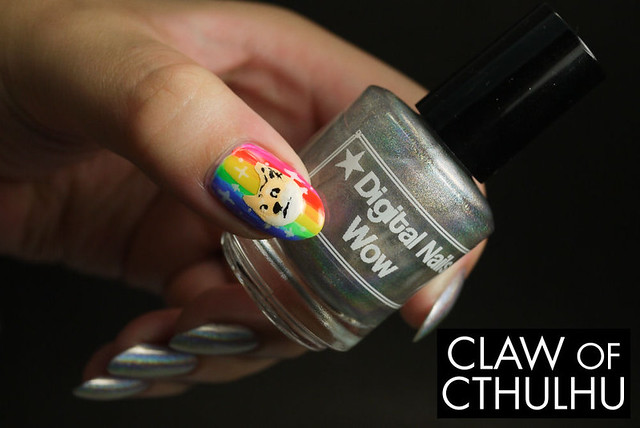

What do you think of making your own nail art decals? Do you have the patience? Be sure to let me know if you try out any of my crazy HOWTO Shitty Nail art designs by tagging me on Instagram!

Love it! I'll have to try this at some point... see how well I can draw, lol!
ReplyDeleteAnd I love the how to - keep 'em coming! :D
I think I might have to reformulate this to something a little more readable - one of those cute pictorials or something. But this is a start! :D
DeleteBring your imagination to life with real wall décor graphics and art wall decals from Fathead. Explore our decorative graphics, home décor and fine art decals. animal wall graphics
ReplyDelete